NTP Time Synchronization
NTP synchronizes the sensor clock with an NTP server on the network. Use it when timestamps must match a common time base across systems, such as recorded sensor data, logs, or external applications.
An Ubuntu host on the sensor network can provide a shared clock without Internet access. Install and start the NTP service to set up an offline Ubuntu NTP server:
Configure /etc/ntp.conf to use the host's local clock and accept local queries:
Restart the service after changing the configuration:
To configure the sensor as an NTP client in SOPASair, open Configuration → Basic Settings → Time Synchronization (NTP), choose the time zone and update rate, and enter the Ubuntu host's IP address. Save the settings and allow time for the next configured update. The sensor status page shows when synchronization completes.
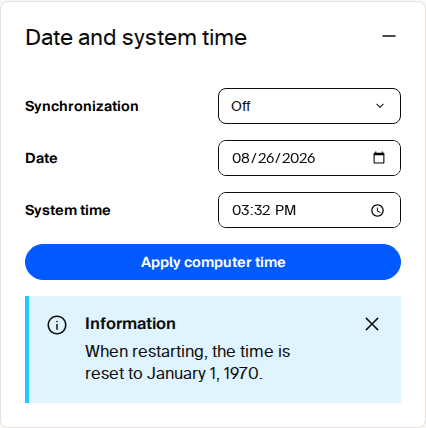
Date and system time tile in SOPASair.
Through the REST API, configure TSCRole as 1 for NTP client mode and set TSCTCSrvAddr to the server address. Use TSCRole 2 only when the sensor must provide time to NTP clients. LSPdatetime reads the current sensor time and LSPsetdatetime sets it manually.
To verify connectivity, check the service and local time on Ubuntu with sudo systemctl status ntp and timedatectl. Test the server with ntpdate -q 127.0.0.1, inspect NTP packets with sudo tcpdump -i any udp port 123 -v, and permit NTP through UFW with sudo ufw allow 123/udp when UFW is enabled.
Ensure that the sensor can reach the selected NTP server through the configured network and firewall. See REST API / OpenAPI for parameter access.